
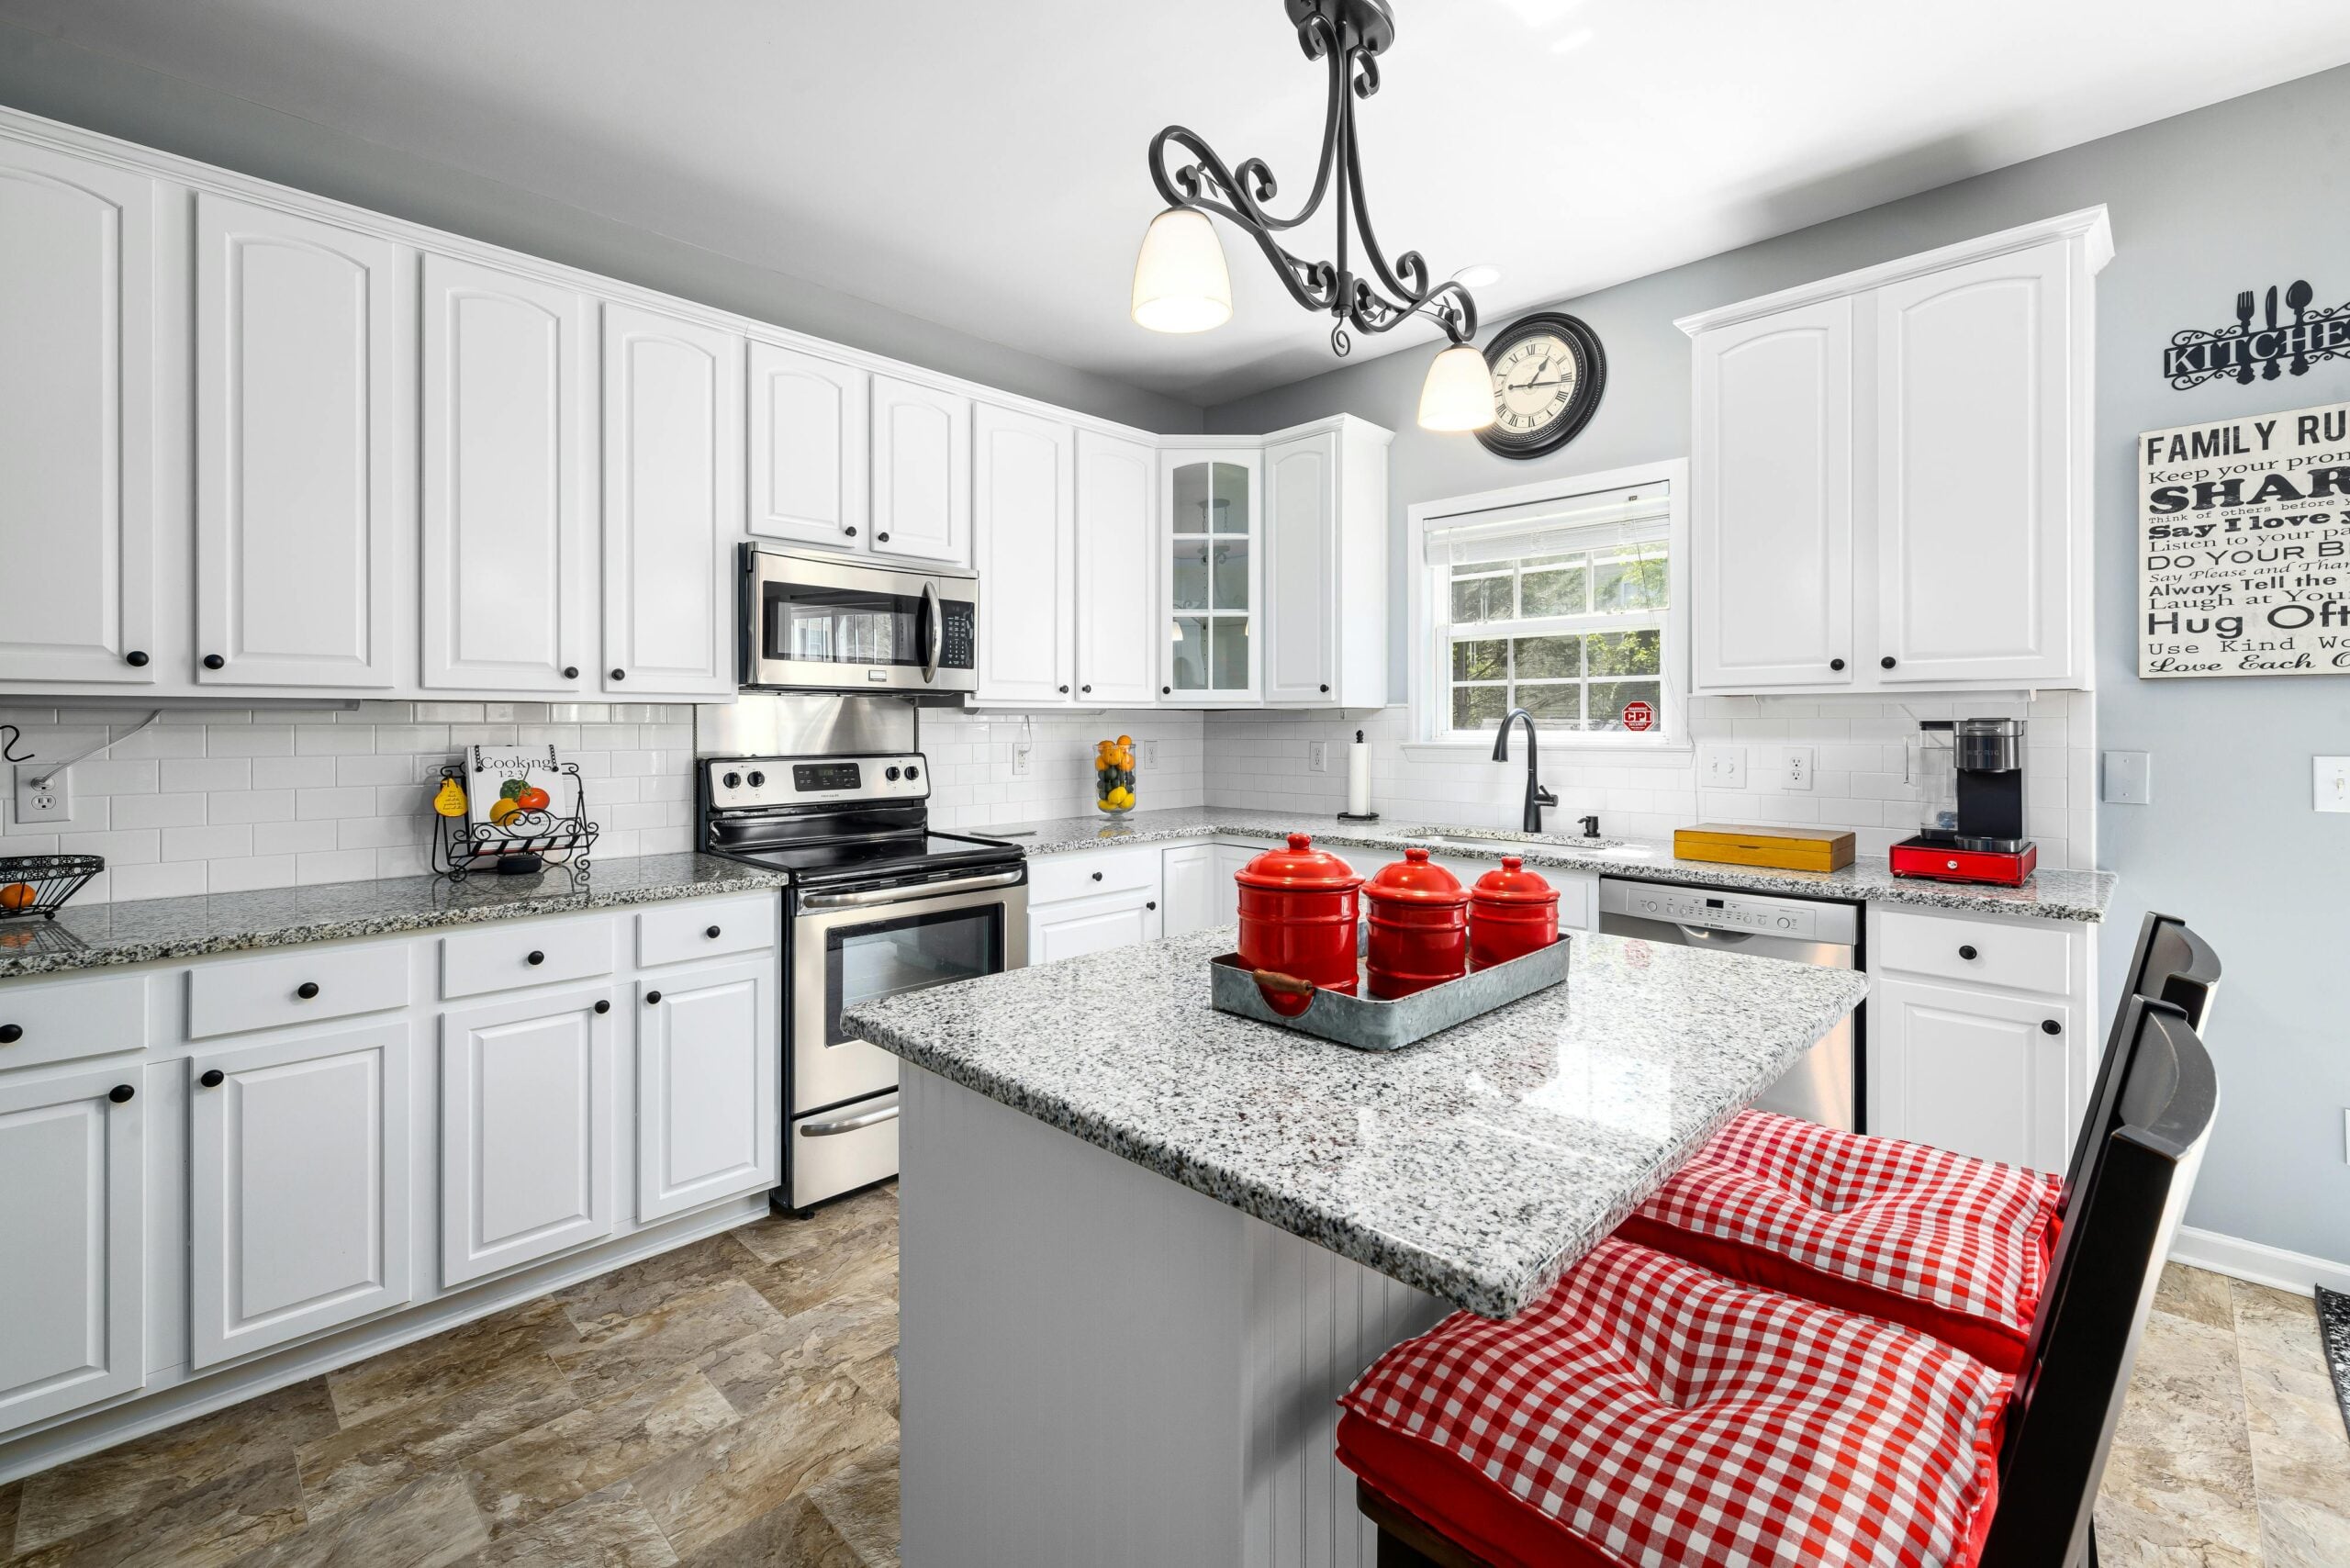
Kitchen backsplash ideas and costs for Southeast Michigan remodels
Table of contents
- Kitchen backsplash materials, patterns, and what they cost installed
- Subway tile: the default that still works when done right
- Porcelain and ceramic tile beyond subway
- Natural stone backsplash: marble, quartzite, and soapstone
- Cost summary by material type
- Pattern and layout decisions that affect cost
- Grout matters more than most homeowners realize
- How to match your backsplash to your countertop and cabinets
- Backsplash installation timeline and sequencing
- Choosing tile for resale vs. staying long term
- Working with a contractor on backsplash selection
Kitchen backsplash materials, patterns, and what they cost installed
A kitchen backsplash ideas cost breakdown starts with a simple fact: the backsplash is the one surface in your kitchen where you can take a design risk without betting the entire renovation budget. Countertops and cabinets consume the majority of a kitchen remodel investment, but the backsplash, typically covering 15 to 30 square feet, lets you introduce color, pattern, and texture at a fraction of the per-square-foot cost. I have installed backsplashes ranging from $400 basic subway tile jobs to $8,000 hand-cut marble mosaics in homes across Ann Arbor, Birmingham, and Plymouth, and the backsplash is consistently the element that makes clients pause in the doorway and say the kitchen finally feels finished.
Subway tile: the default that still works when done right
The 3-by-6-inch subway tile became popular because it is inexpensive, easy to source, and pairs with almost any cabinet style. A basic white ceramic subway tile costs $2 to $5 per square foot for the material. Installed with standard running bond pattern (the classic offset brick layout), a 25-square-foot backsplash runs $500 to $1,200 including tile, thinset, grout, and labor. That price makes subway tile the entry point for a finished backsplash in budget-conscious Michigan kitchen remodels.
The pattern you choose with subway tile matters more than the tile itself. Running bond is the standard, but a herringbone layout adds visual energy without increasing material cost. A vertical stack pattern creates a modern feel that pairs well with flat-panel cabinet doors. A stacked herringbone requires a more skilled installer and increases labor by roughly 20 percent because the cuts are more complex and the layout requires precise reference lines.
Where subway tile falls short is on large walls with no upper cabinets. A full wall of white 3-by-6 tile from countertop to ceiling can look institutional. If your kitchen design includes open shelving instead of uppers, consider a larger format subway (4-by-8 or 4-by-12 inch) or introduce a contrasting grout color to add dimension. Gray grout on white tile creates shadow lines that give the surface texture without adding a second material. Our tiling team installs subway tile patterns across bathroom and kitchen projects, and the installation principles are identical.
Porcelain and ceramic tile beyond subway
Moving beyond the standard subway format opens up hundreds of options. Porcelain tile printed to mimic marble, concrete, or wood is available in formats from 2-by-2-inch mosaics to 24-by-48-inch large-format slabs. For kitchens in Northville and Novi where homeowners want the marble look without marble maintenance, a polished porcelain tile with Calacatta-style veining runs $8 to $15 per square foot for the material and $1,500 to $2,800 installed for a 25-square-foot area.
Zellige tile, the handmade Moroccan clay tile with an uneven glaze surface, has become one of the most requested backsplash materials in our projects over the past two years. Each tile has slight color variation and surface irregularity that creates a handcrafted look no factory tile replicates. Zellige runs $15 to $30 per square foot for the material, with installed costs of $2,000 to $4,500 depending on the area and pattern. The installation takes longer because each tile must be individually assessed and placed to create an intentional-looking arrangement of the natural color variation.
Mosaic tiles and pattern options
Mosaic tiles (typically 1-by-1 or 2-by-2 inch pieces mounted on mesh sheets) work well as accent strips, niche liners, or full-wall installations behind a range. Glass mosaics add reflective depth that bounces kitchen lighting across the room. Stone mosaics in marble, travertine, or slate bring natural texture. Mixed-material mosaics that combine glass, stone, and metal in a single sheet can tie together the finish palette of the entire kitchen.
Mosaic installation costs more per square foot than field tile because the grout joints are numerous and the alignment must be precise across sheets. Expect $12 to $40 per square foot for materials and $2,500 to $5,500 installed for a full backsplash area. The visual impact is proportional to the investment. A well-chosen mosaic behind the range, framed by simpler field tile elsewhere, creates a focal point without covering every surface in the most expensive material.
Natural stone backsplash: marble, quartzite, and soapstone
Natural stone backsplash options include marble slabs, quartzite tiles, slate, and soapstone. Each brings texture and character that manufactured tile cannot replicate. A full marble slab backsplash, matching the countertop material, creates a seamless visual flow from work surface up the wall. This is the approach we use most often in premium kitchen remodels where the stone itself is the design statement.
A slab backsplash (one continuous piece of stone rather than individual tiles) eliminates grout lines entirely. The stone runs from the countertop to the underside of the upper cabinets as one uninterrupted surface. Installed cost for a marble or quartzite slab backsplash runs $3,500 to $8,000 depending on the stone, the fabrication complexity, and the number of outlets and switch plates that need cutouts. Our kitchen remodel cost breakdown shows how backsplash material choice fits within the broader project budget.
One caution with natural marble backsplash: marble is softer than granite or quartzite and etches when exposed to acidic liquids. Behind a stovetop where tomato sauce splatters and lemon juice drips, marble will develop a patina over time. Some homeowners love that lived-in look. Others want a pristine surface. If you fall into the second category, a marble-look porcelain tile gives you the aesthetic without the maintenance concern.
Cost summary by material type
For a typical 25-square-foot backsplash area in a Southeast Michigan kitchen (the space between the countertop and upper cabinets on two or three walls), here is what each material costs installed including tile, setting materials, grout, and labor.
- Basic ceramic subway tile: $500 to $1,200. The entry point for a finished backsplash. Clean, functional, pairs with everything.
- Porcelain large-format or pattern tile: $1,200 to $2,800. More visual interest than basic subway. Wide range of looks from concrete to marble.
- Zellige or handmade clay tile: $2,000 to $4,500. Handcrafted texture that photographs well and feels warm in person.
- Glass or stone mosaic: $2,500 to $5,500. Reflective depth and complex patterns. Best used as accents or focal walls.
- Natural stone slab: $3,500 to $8,000. Seamless, grout-free, makes the strongest design statement. Highest maintenance for soft stones like marble.

Pattern and layout decisions that affect cost
The pattern you choose affects labor cost because complex layouts require more cuts, more time setting reference lines, and more material waste. A running bond subway layout wastes roughly 5 to 8 percent of the tile in cuts. A herringbone pattern wastes 12 to 15 percent. A chevron pattern with mitered edges wastes 15 to 20 percent. That waste percentage multiplies against the per-square-foot material cost.
For a $5-per-square-foot subway tile, the waste difference between running bond and herringbone is negligible. For a $30-per-square-foot zellige tile, that same waste difference adds $100 to $150 in material cost and several hours of additional labor. Factor the pattern decision into the budget before committing to a layout.
Full-height backsplash installations (countertop to ceiling, not just to the bottom of the upper cabinets) roughly double the square footage and the cost. A standard backsplash height is 18 inches between the countertop and the cabinet bottom. If you remove upper cabinets in favor of open shelving, the backsplash height jumps to 48 inches or more. That 25-square-foot project becomes a 65-square-foot project, and the installed cost scales accordingly. Plan for this in the budget tier assessment if open shelving is part of your design.
Grout matters more than most homeowners realize
Grout color, width, and type affect the finished look as much as the tile itself. A white tile with white grout creates a monolithic surface where the individual tiles nearly disappear. The same white tile with charcoal grout turns every tile edge into a visible line, creating a graphic, geometric pattern. I bring grout samples to every tile selection meeting because the combination is the design, not the tile alone.
Epoxy grout costs more than cement grout ($4 to $8 per pound versus $0.50 to $1 per pound) but resists staining permanently. Behind a stovetop where grease and cooking splatter are inevitable, epoxy grout stays clean for years without scrubbing. Cement grout absorbs grease and darkens over time unless sealed regularly. For kitchen backsplashes specifically, I recommend epoxy grout on every project because the cost difference is small relative to the lifetime maintenance benefit.
How to match your backsplash to your countertop and cabinets
The backsplash sits visually between the cabinet face and the countertop surface. It needs to bridge those two materials without competing with either one. Here is the approach I use when helping homeowners in Canton, Livonia, and across Southeast Michigan make this choice.
If your countertop has strong veining or busy patterning (like a dramatic quartzite or a speckled granite), choose a simple backsplash. A solid-color subway tile or a tone-on-tone porcelain lets the countertop be the star without visual competition. Matching the backsplash color to one of the secondary tones in the countertop creates cohesion without repetition.
If your countertop is a solid color or subtle pattern (like a white quartz or a honed black granite), the backsplash is your opportunity to introduce texture and interest. This is where zellige tile, patterned porcelain, or a bold mosaic works well. The quiet countertop provides a visual rest, and the backsplash provides the energy.
If your cabinets are the design feature (custom wood species, bold paint color, glass fronts), both the backsplash and countertop should recede. A simple white or warm gray tile in a clean pattern lets the cabinetry command attention.
Backsplash installation timeline and sequencing
The backsplash goes in after countertops are installed and before final trim and paint touch-ups. This sequencing matters because the backsplash tile sits on top of the countertop surface, and the top row of tile meets the underside of the upper cabinets or the wall above. If the countertop is not yet installed, the tile installer has no reference surface for the bottom edge, which means the grout line where the backsplash meets the counter will be uneven.
In our standard renovation process, backsplash installation occupies two to four days depending on the material and pattern complexity. Simple subway tile in running bond pattern on a standard backsplash area can finish in a single day of setting and one day of grouting. A zellige tile in a herringbone pattern or a natural stone mosaic requires more layout time, more cuts, and more careful grouting, pushing the timeline to three or four days. Homeowners in the Novi area and across Oakland County communities should factor this timeline into the overall project schedule, especially if the kitchen remodel has a hard deadline.
One detail that catches homeowners off guard is the electrical work required before tiling. Every outlet and switch plate on the backsplash wall needs to be checked for proper depth. When tile adds 3/8 to 1/2 inch of thickness to the wall, the electrical boxes behind those outlets may need extenders so the cover plates sit flush against the tile surface rather than sinking into it. Our electricians handle this adjustment before the tile crew starts, but it is a coordination step that DIY backsplash projects frequently miss.
Choosing tile for resale vs. staying long term
If you plan to sell the house within three to five years, neutral backsplash choices perform better at resale. White or light gray subway tile, a clean porcelain in a marble pattern, or a simple glass tile in a neutral tone will appeal to the widest range of buyers. Bold colors, heavily patterned mosaics, and unusual materials like metal tiles may be exactly what you love, but they narrow the buyer pool. A Birmingham neighborhood or Ann Arbor area listing with a neutral backsplash lets the buyer project their own style onto the kitchen.
If you are staying ten-plus years, choose the backsplash that makes you happy every morning. The cost difference between a safe white subway and a zellige tile that makes you smile is $1,000 to $3,000. Over a decade of daily use, that investment in personal satisfaction pays back every time you walk into the room. The design-build process at Wright’s Renovations includes these conversations about longevity and personal preference because the right answer changes depending on your plans for the home.
Working with a contractor on backsplash selection
The biggest mistake I see homeowners make with backsplash selection is choosing the tile in isolation, without considering the installation conditions. The tile behind a range needs to handle heat and grease differently than the tile behind a sink. The area around electrical outlets needs tiles cut precisely to frame the cover plates. The transition where the backsplash meets the countertop requires a clean caulk joint, not a grout joint, because the two surfaces expand at different rates.
At Wright’s Renovations, backsplash tile selection is part of the design-build consultation, not an afterthought. We bring samples of all the materials discussed here, hold them against your cabinet and countertop selections, and photograph the combinations under your kitchen’s actual lighting conditions. What looks warm under showroom LEDs can look cold under the recessed cans in your existing kitchen, and that difference matters when you are committing to a surface you will look at every morning for the next decade.
Check out our client reviews to see how finished backsplash installations look in real Michigan kitchens, or schedule a consultation to start comparing materials for your project. We serve homeowners across Washtenaw County, Oakland County, and Wayne County.
